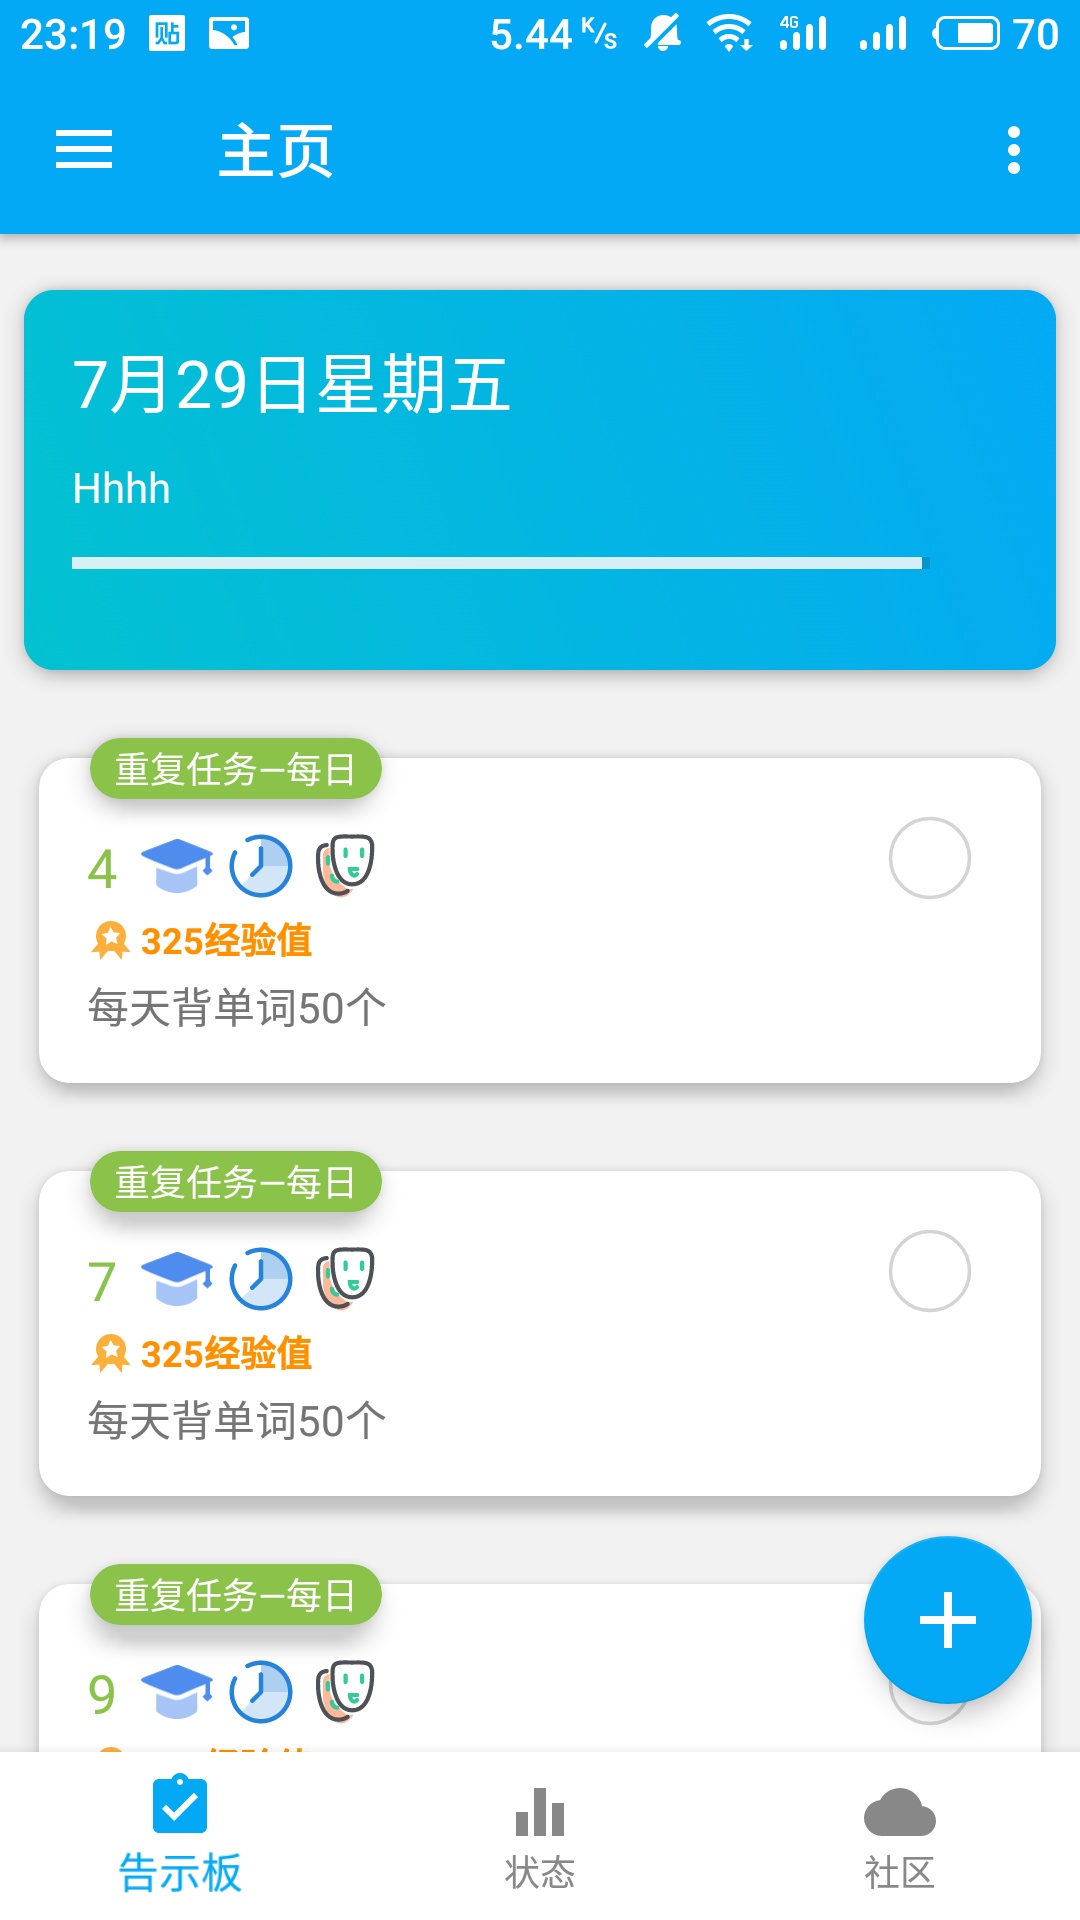
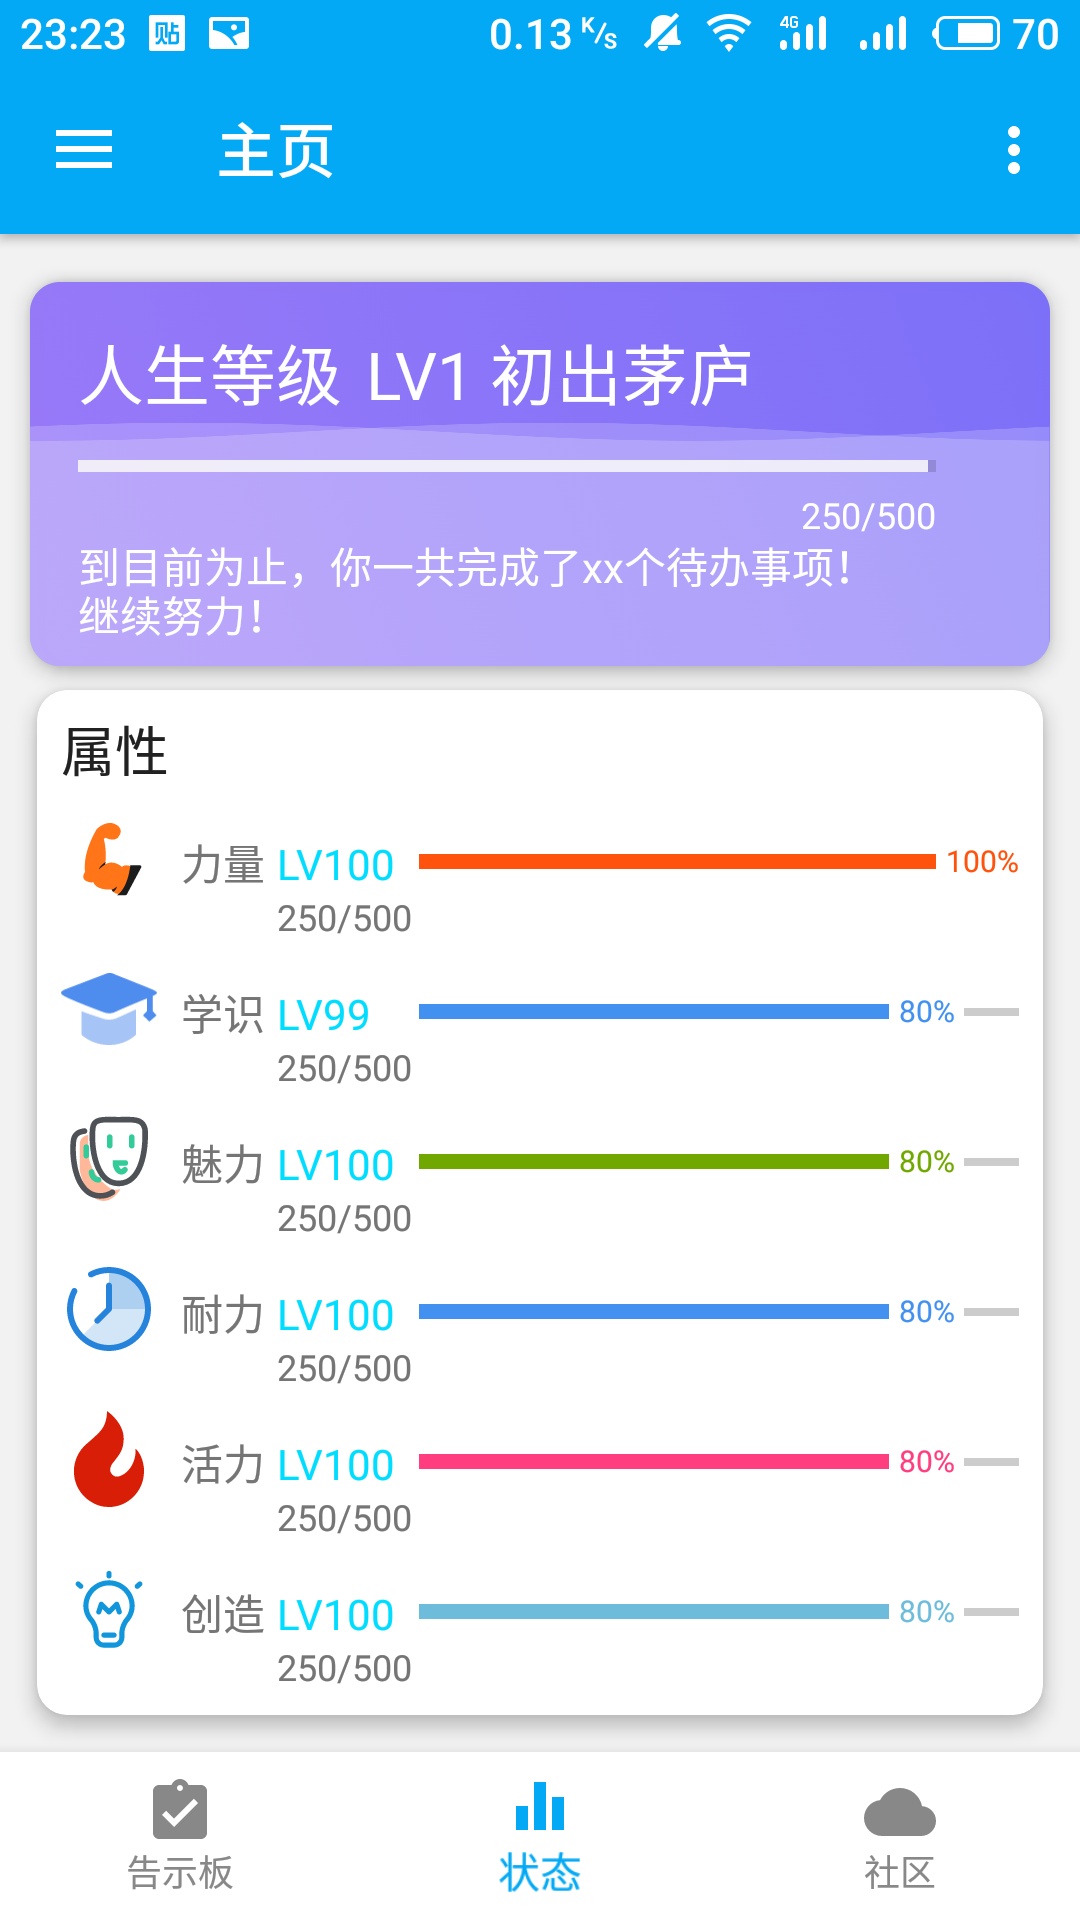
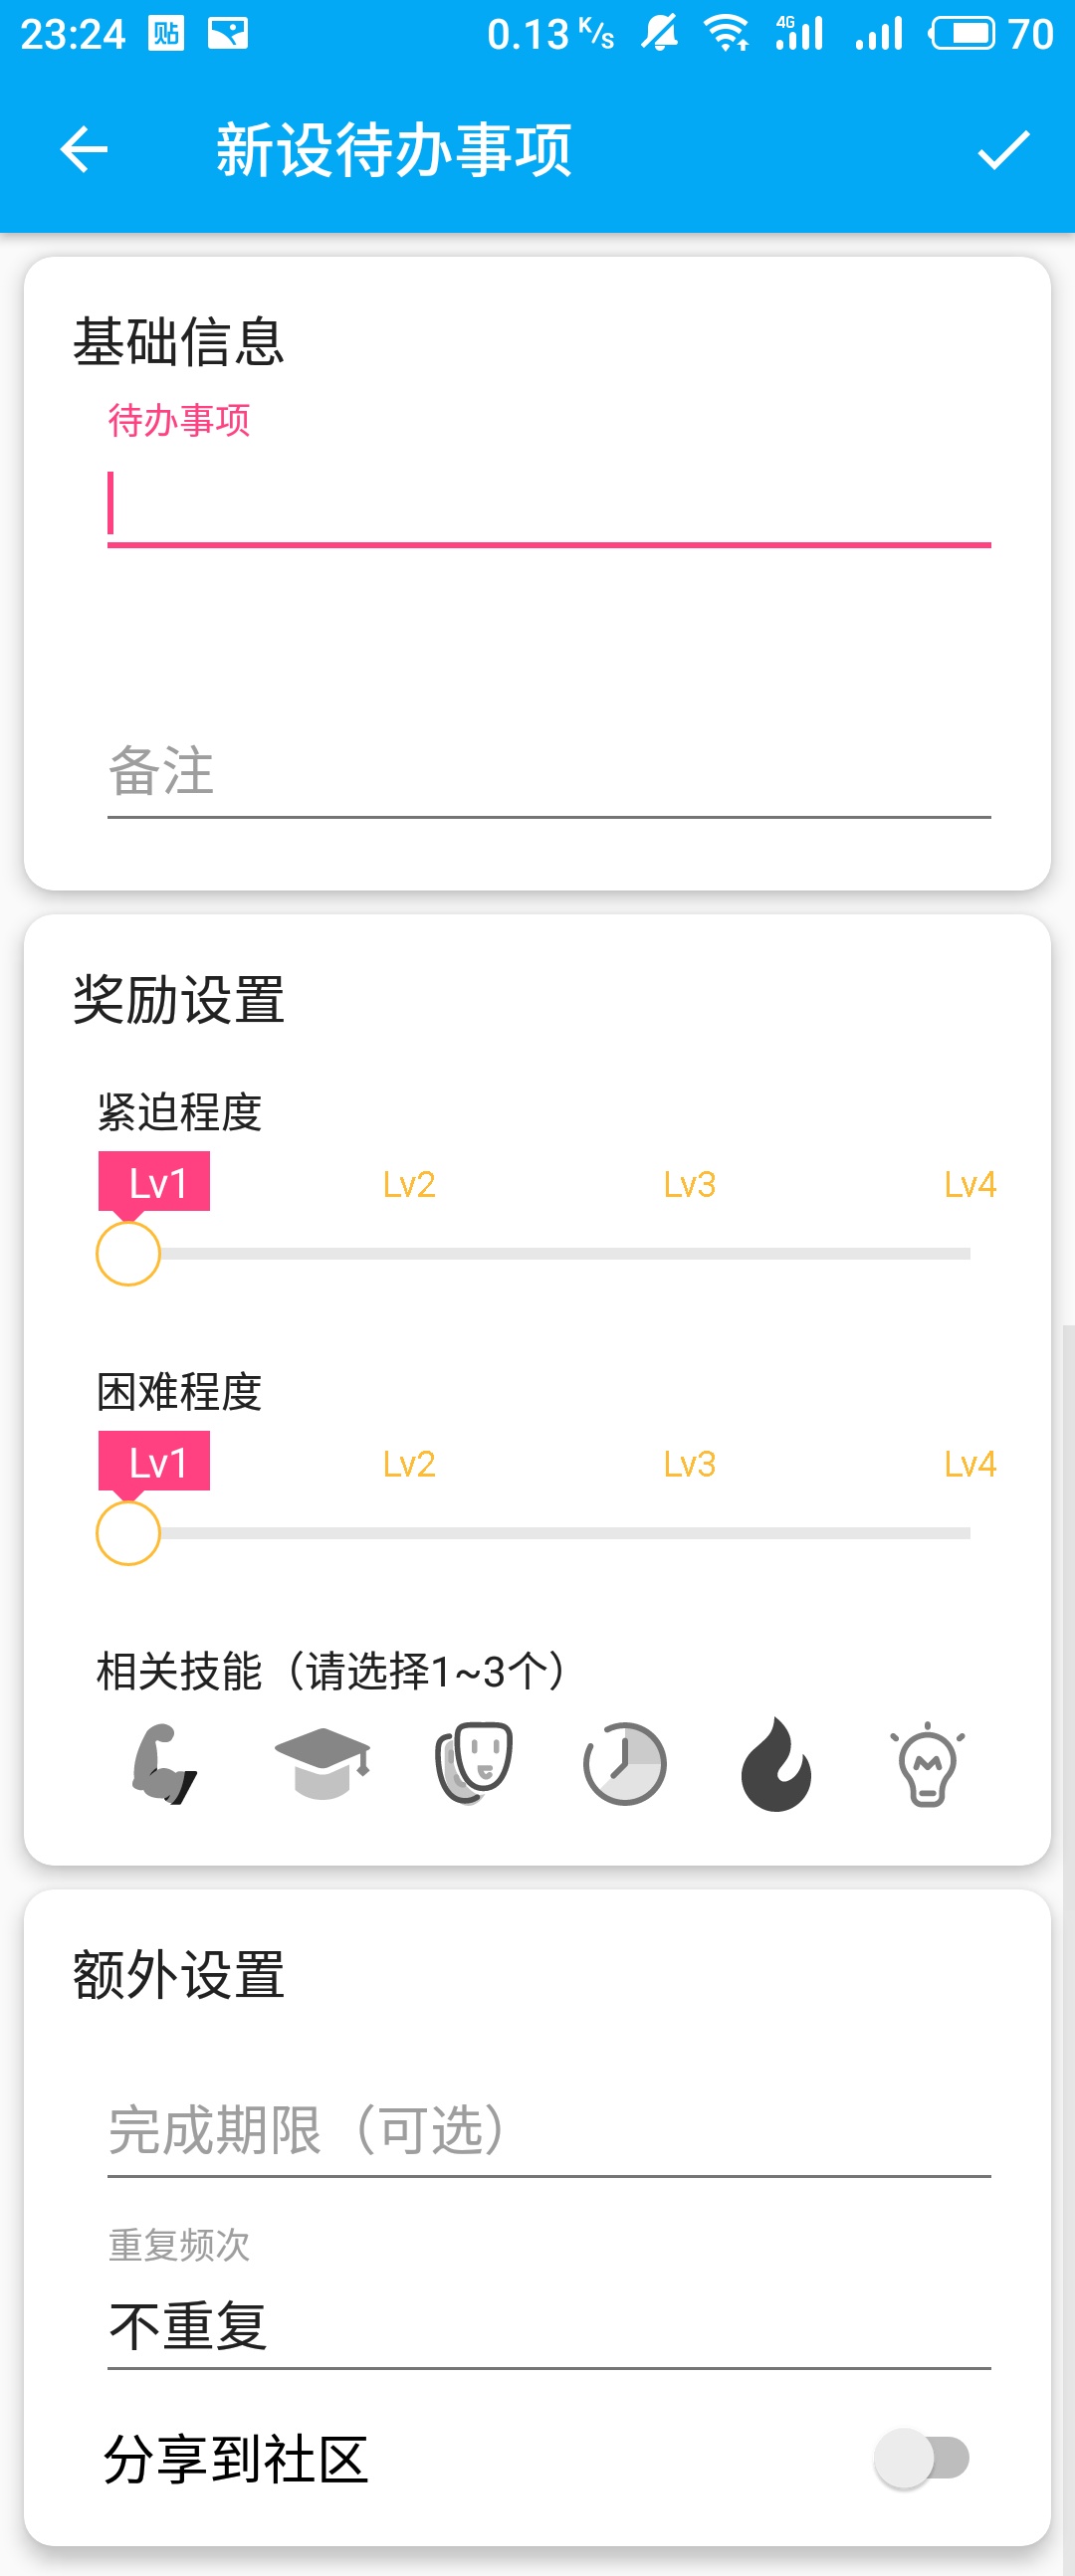
人升开发日志#8 | 8/5 主界面+设置界面
效果图:
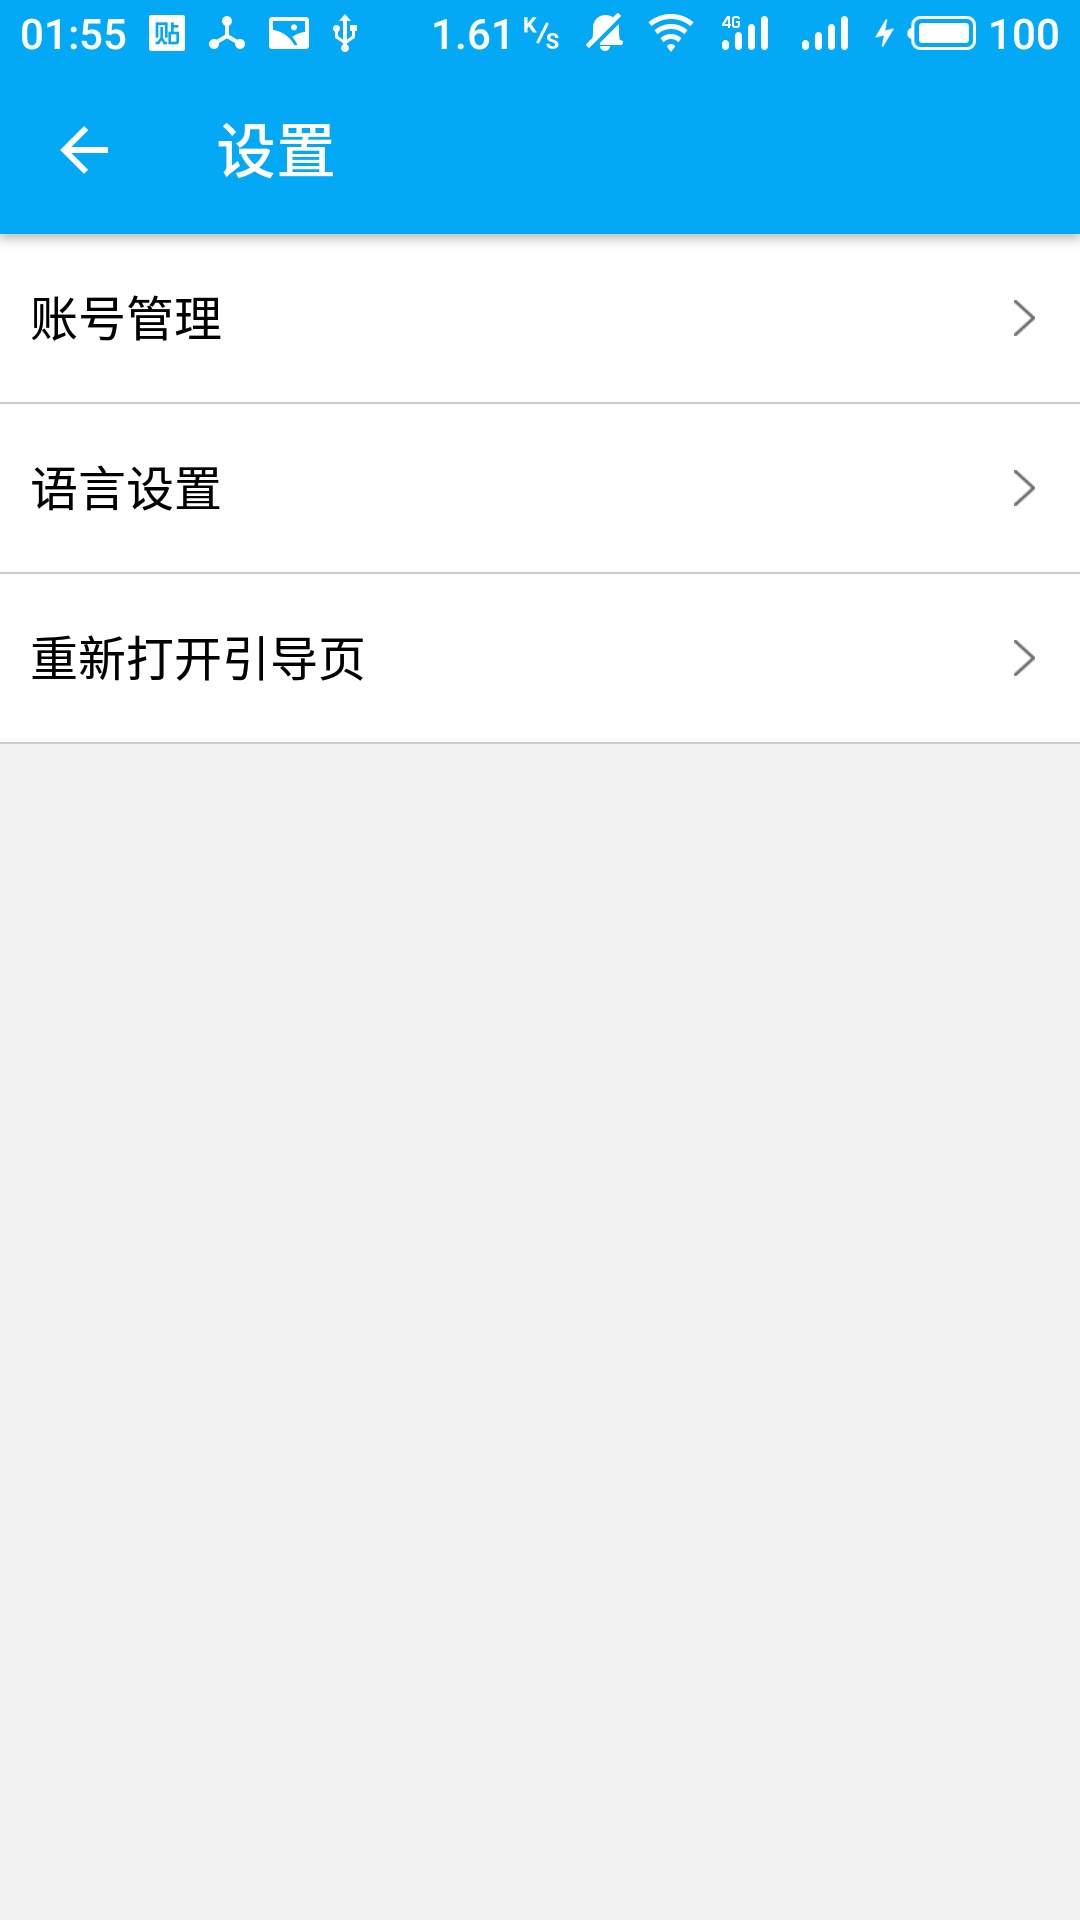
#设置页面
感觉 Google 官方的实现方式有点繁琐,而且布局不是很美观。
于是选用自定义布局+框架实现。
https://github.com/jeff-sun/SettingView
首页的BottomNavigationView实现Fragment切换
如果自己写就要判断逻辑然后加载Fragment,实现Hide和Show。
不困难但是很繁琐,还是套用框架:
https://github.com/WakeHao/NavBar
TabLayout只能响应滑动事件,不能响应点击事件的解决
将父布局改成LinearLayout。
实现不同Fragment加载不同的Toolbar
首先将AppBarLayout的实现分别写在各个Fragment里面。
然后在Activity中写一个初始化toolbar的方法,参数为等会让Fragment传入的toolbar。
1
2
3
4
5
6
7
8
9
10
11
fun initToolBar(toolbar: Toolbar) {
setSupportActionBar(toolbar)
val toggle = ActionBarDrawerToggle(
this, drawer_layout, toolbar, R.string.navigation_drawer_open, R.string.navigation_drawer_close)
drawer_layout.addDrawerListener(toggle)
toggle.syncState()
nav_view.setNavigationItemSelectedListener(this)
}然后在各个Fragment的onCreateView方法中调用这个方法:
1
2
//设置toolbar
(activity as MainActivity).initToolBar(view.findViewById(R.id.toolbar))
CardView阴影显示不全的解决
原因是CardView默认的Wrap_content是不会包括阴影部分的。
所以可以加Padding,或者是使用
1 | app:cardUseCompatPadding="true" |
来让阴影部分也算在CardView的实际面积里。
这样的话,你需要重新调整下View的大小以及间距等等。
点击EditText出现日期选择
1 | /** |
第一次点击的时候会触发FocusChange,第二次点击才会触发OnClick。
所以两个监听器都要设置。
单选框的写法
1 | /** |
让ImageView变成灰色
1 | /** 将技能图标初始化为灰色 **/ |
恢复的话将colorFilter设为null即可。
人升开发日志#8 | 8/5 主界面+设置界面